Unity Connection感觉上功能并不比Unity本身强,大家可以研究研究 这个安装指南还是得高手的指点,不然我自己也高不定,感谢这么多人支持ciscotrain,e-train 首先安装win2003,按照以前的经验,我们应该选用英文版,我安装的是英文windows2003 enterprise edition。 不是特殊注意安装什么服务,因为unity connection安装的时候会提示你要windows2003的盘。 注意win2k3必须打sp1,尽量把升级包都安装上。 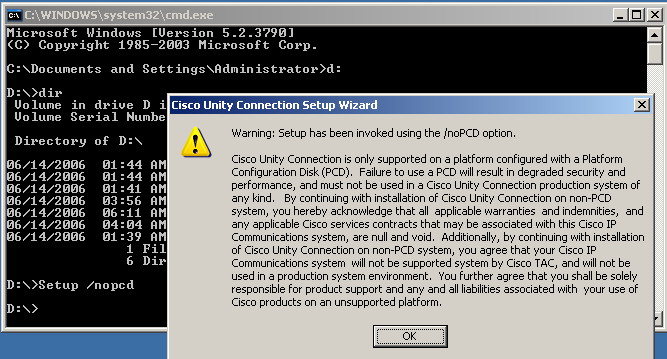 在cmd下运行setup /nopcd,如上图所示 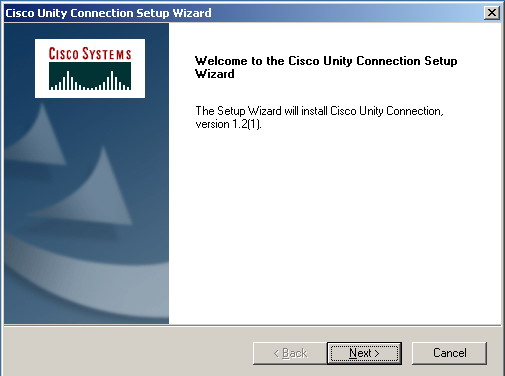 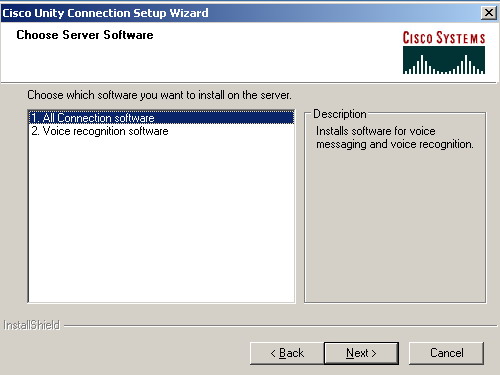 选择全部安装   安装过程中如果缺少服务或者windows组件,系统会提示你插入win2k3光盘 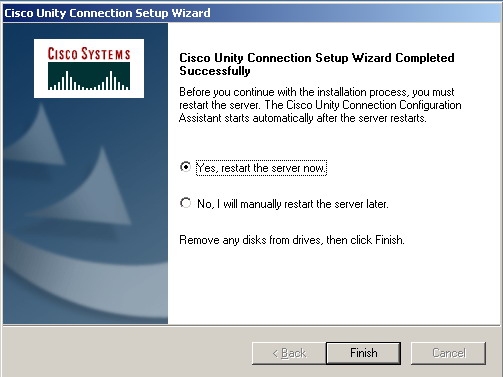 要求重起  开机后会自动启用服务,等待就可以了  服务完全启动完毕后,弹出对话框,做最后的设置  设置管理员密码  这块密码设置比较痛苦,慢慢研究,使用一个比较安全的密码  Unity connection和unity一样,自带一个license,你可以使用,也可以使用自己的license  开始集成,可以选择多个厂家,比如avaya,nortel等 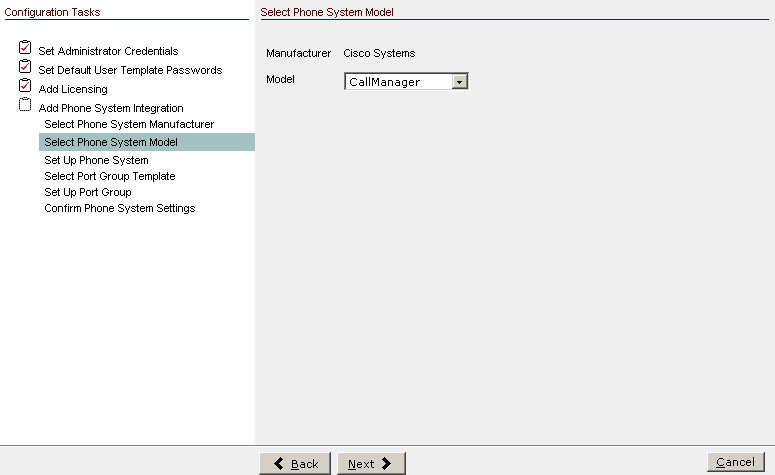 选择相应厂家的产品 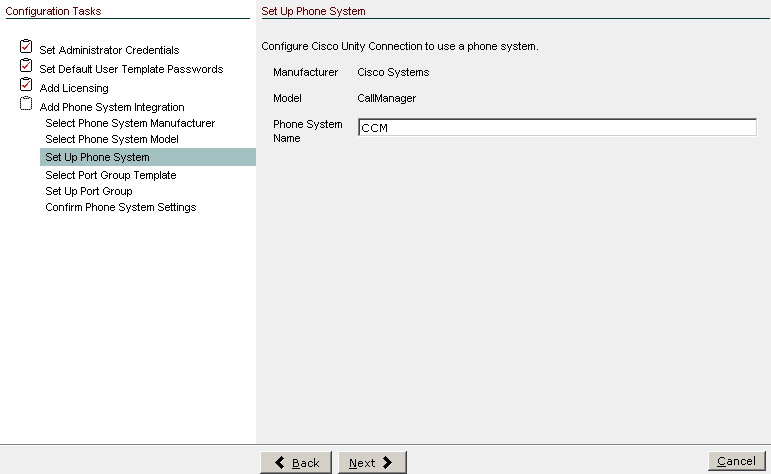 随便给个名字,不一定是主机名  选择协议,对于ccm来说可以用sccp和sip,当然推荐用sccp了  集成的最后配置,输入地址端口  确认完成  配置完毕 最后给大家一个Unity Connection 1.2.1的管理界面 由于1.2还没有中文包,所以只能用英文的测试了。相信不久cisco会提供下载 
|

