|
TOP
|
| [ 录入者:admin | 时间:2007-11-22 23:08:19
| 作者: | 来源:
| 浏览:566次 ] |
Unity是Cisco作Voice Mail的软件,说白了就是IP电话留言,软件本身是免费的,License收费,而且很贵,有兴趣的可以去看报价单。
本文介绍Unity 4.1.1的安装,Unity 4.0.5版本也通用。Unity应该装在Cisco MCS系列产品上或者认证了的服务器,比如MCS7835,HP DL380,IBM X340什么的。但是可以安装在别的服务器甚至PC上,这种破解方法本文不涉及,怕Cisco找麻烦,需要的朋友可以跟我交流讨论语音的东西。
多多支持http://netemu.cn
希望本文对大家有所帮助
第一步:安装Windows 2000 Server
一定要采用英文版的OS,2K Server,AD Server都可以,2K3可以。Professional版本不成。
系统分区表必须是NTFS,如果不是,转换一下吧。
安装系统的时候,装IIS,其中的ftp服务不需要,NNTP和SMTP必须,安装消息队列,安装DNS服务和简单TCP/IP服务。
系统安装完毕后,完成消息队列配置。
第二步:打补丁
安装win2kSP4和ie6 SP1,都要英文版的,以后软件都是英文版,不再多说了。win2K3安装sp1
安完win2k p4的时候系统要求重起,安完ie6sp1的时候,系统要求继续重起。
第三步:安装Active Directory
开始菜单里面运行dcpromo.exe,如果当前环境有domain,你就加入,如果没有domain,自己做域控制器。活动目录的安装方法就不多说了,网上文章有的是,注意DNS服务让系统自己设置,有问题google一下。
活动目录的安装必须连接到网络。安装结束后要求重起。活动目录安装完毕的最显著特点就是慢,开关系统都慢,没辙,因为人家要狂发广播通知整个domain,忍了吧。
第四步:安装Exchange 2000 Enterprise Edition
最好安装Ex2K企业版,别的版本没有测试,Ex2K3也是可以的。IBM domino也是许可的。
运行setup/i386/setup.exe
选择典型安装就可以了,然后就是超常时间的等待。
安装进度条可以不用看,因为反复打开关闭服务。这段时间你大可以去干些别的。
安装完毕后要求重起
第五步:打补丁
运行EX2KSP3_server.exe,解压缩,然后运行server/setup/i386/update.exe,安装Ex2K的sp3
又是一次无尽的等待,安装完毕后要求重起
重起回来运行exchange2000-KB870540-v2-x86-ENU.exe,安装Ex2KSP3的Update rollup。
以上两个补丁都是必须的,因为安装Unity的时候需要他们。
第六步:安装SQL Server 2000
Unity不像Callmanager那样自带SQL,所以需要自己安装。
我安装的是Enterprise Edittion,安装SQL Server 2005也是可以的
选择典型安装就可以,使用domain和windows验证模式
安装完毕后要求重起
第七步:打补丁
运行Microsoft_sql2ksp4enu1.exe,安装SQL2K的SP4
安装完毕后要求重起
第八步:安装.net Framework
注意,只能安装1.1,2.0安装上Unity不认,尽管Unity最后会提示1.1 or higher都可以,其实不然。
运行dotnetfx.exe进行安装。
第九步:打补丁
使用Windows Update,上网把其余的补丁都打上。
第十步:Unity预备安装
运行CiscoUnity4.1.1ENUCD1和CiscoUnity4.1.1ENUCD3,解压缩。CD2可以不需要,除非你有Intel的语音卡。

运行CD1中的ADSchemaSetup/ADSchemaSetup.exe,双击选择英文,按照上图的默认配置选择OK就可以。

运行CD1中的Setup.exe。这是Unity的安装向导,会在桌面上增加一个CUICA的脚本,以后可以用这个运行。
选择Continue

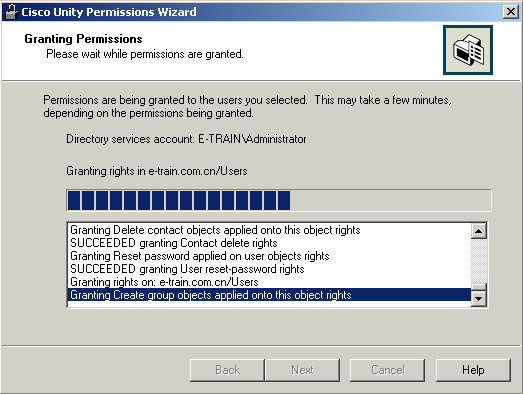
点击Run the Cisco Unity Permissions Wizard
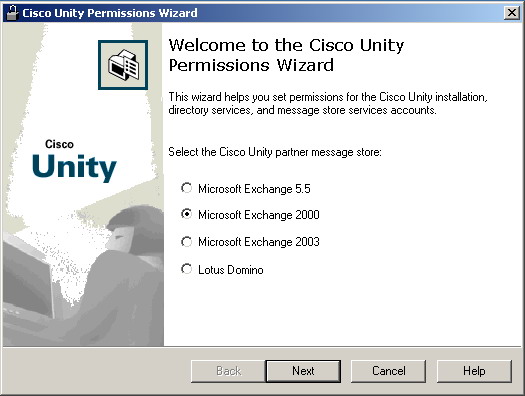
选择Microsoft Exchange 2000。如果问你有更新的文件是否连接下载,选择否,暂时不管。
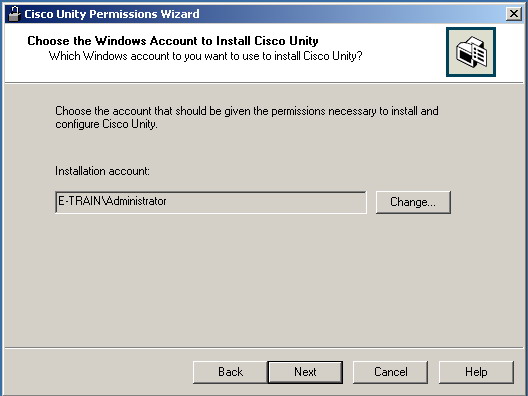
选择安装的帐户,用Administrator就可以。

选择目录服务的帐户,也用Administrator
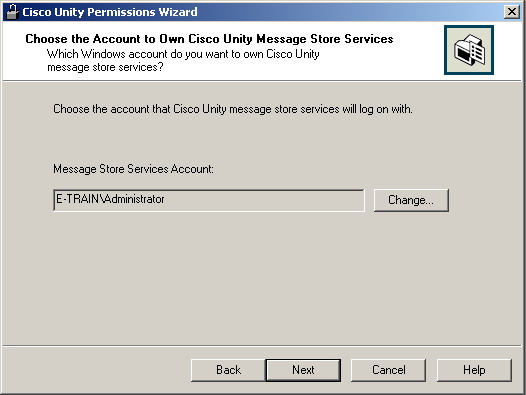
选择信息存储服务的帐户,继续用Administrator
选择Unity新建的用户组和用户,使用默认就可以。

选择Unity管理员的创建,使用默认。

选择活动目里地址,使用默认
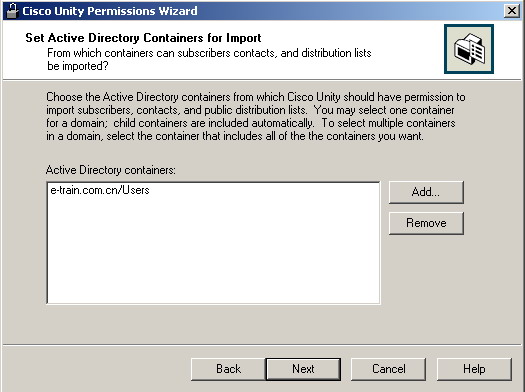
针对活动目录的设置,使用默认

选择邮件存储位置,使用默认
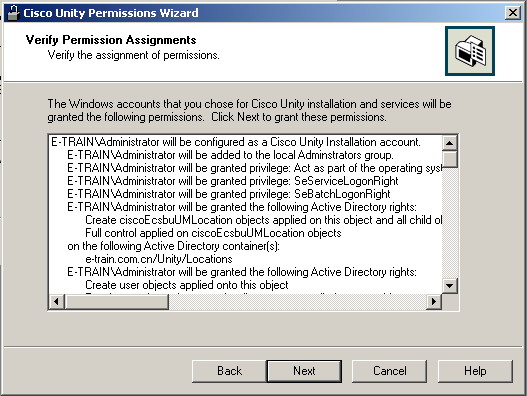
最后确认。给出一个summary,下一步,开始安装

第十一步:安装Unity

继续看我们刚才那个安装向导。现实需要7步安装完成Unity。别疯,cisco东西就这么麻烦
点击Run the Cisco Unity Setup Program

双击选择英文,下一步
Unity会检测你的系统是否符合安装Unity的标准,如果前面那些软件和补丁你少装了,这个时候会提示你缺少东西,补上就可以。你放心,它不会一次把需要的东西都说出来,如果你没按照我说的方法装,这个时候你会疯掉。你看我让你撞了多少个补丁,你就知道我疯了多少次了
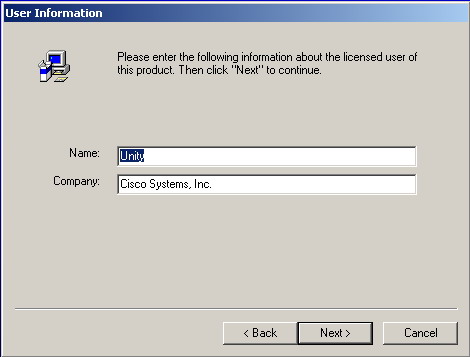
输入公司信息,下一步
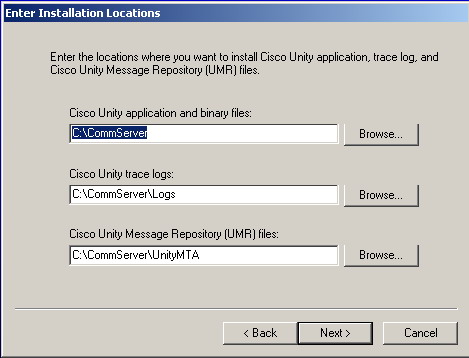
文件安装地址,使用默认,下一步
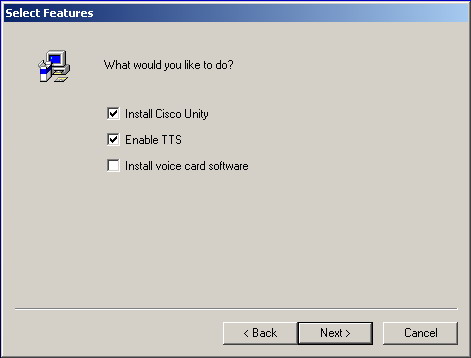
安装组建这块碱基安装TTS,如果你有Intel Voice Card,那么你选择Install Voice Card Software,需要Unity安装盘CD2。

选择协议,默认G.711

选择安装语言包,Unity 4.1.1目前只有英文语言包,就是CD3,4.0.5支持多国语言包,包括中文,但是安装多国语言包的时候也需要英文语言包。多国语言包需要单独的光盘,中文是CD5。
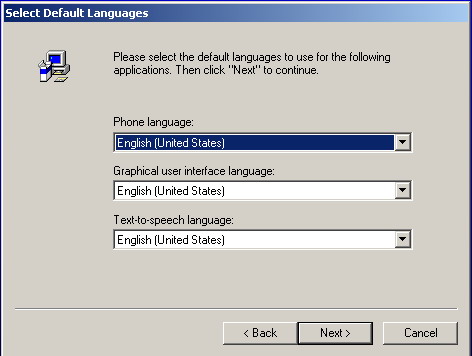
选择默认语言,如果是Unity 4.0.5,你可以选择Chinese

选择键位设置。建议按照默认,就是如下这样:
Q(7) W(8) E(9)
A(4) S(5) D(6)
Z(1) X(2) C(3)
确认开始安装。安装过程中会反复提示你插于相应的语言包光盘,大概有5次左右,没有做过详细的统计。这个安装时间超级漫长,耐心等待吧。安装完毕后重起。

第十二步:安装Unity License

点击Run the Cisco Unity Install License File Wizard

下一步

选中你的License
在Unity万状完毕后会带一个License,位置是C:\CommServer\License\CiscoUnity41.lic,功能极少,基本就是看看用。
你可以在这里添加自己买的License。

显示你的License包含的内容。

第十三步:配置Unity服务
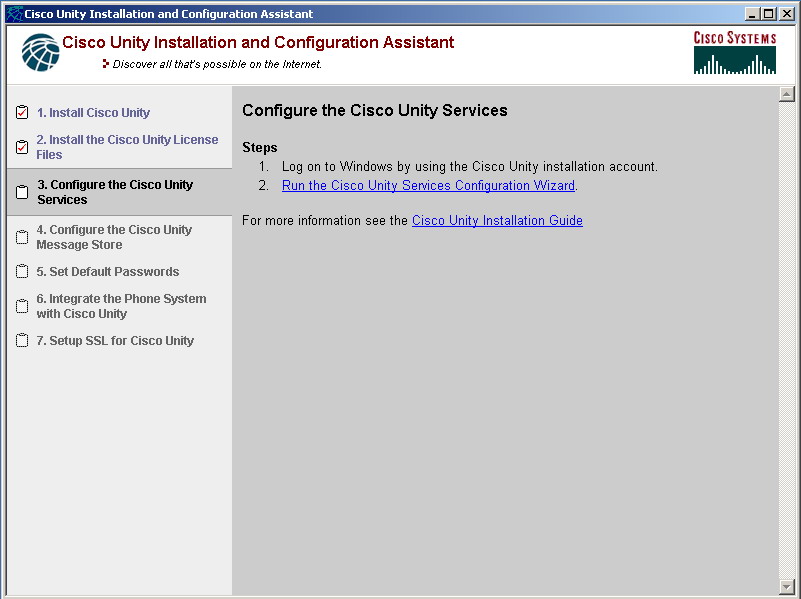
点击Run the Cisco Unity Service Confiuration Wizard

下一步
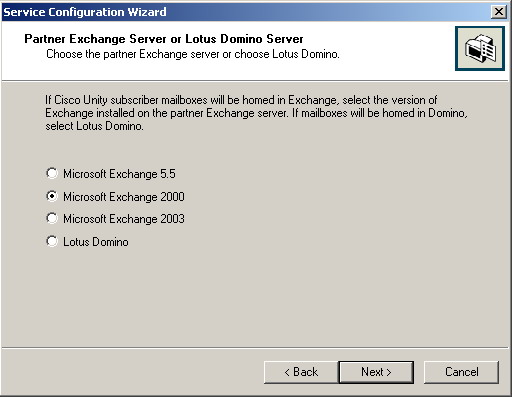
选择你安装的Exchange版本
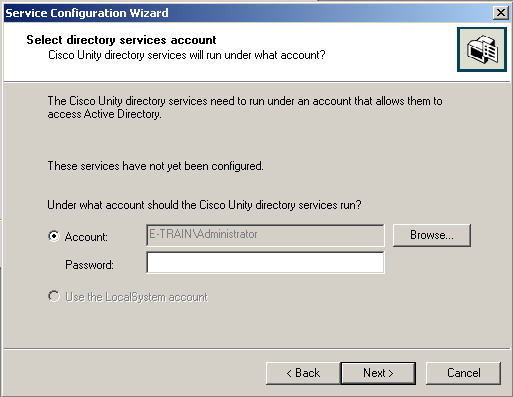
输入活动目录管理员密码
信息存储服务的管理帐户密码就不用输入了,直接下一步

本地服务直接使用本地系统帐户就可以
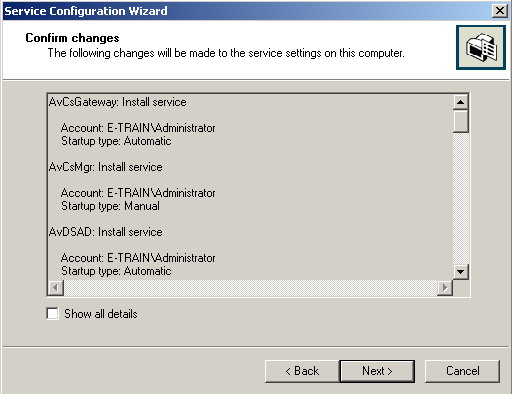
确认无误后下一步,完成安装

第十四步:配置Unity信息存储
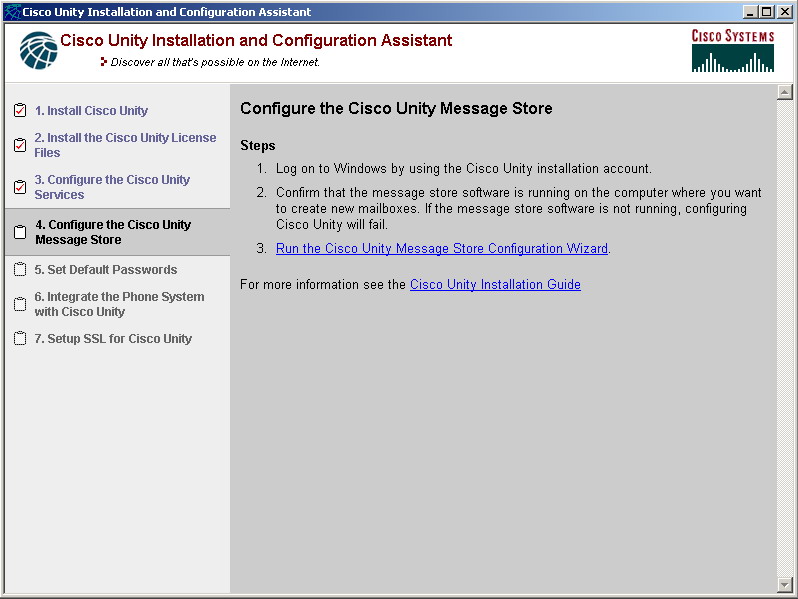
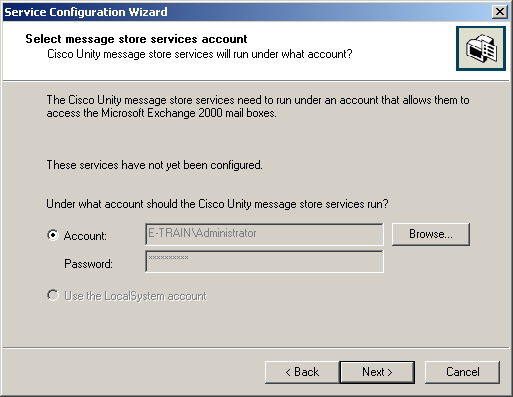
点击Run the Cisco Unity Message Store Configuration Wizard
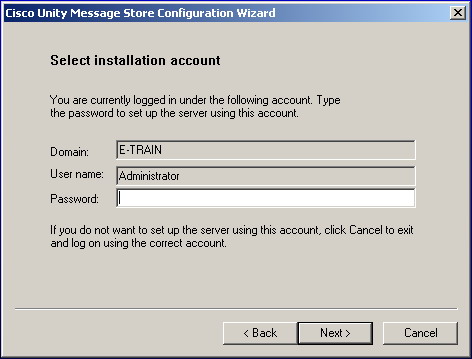
输入管理员密码
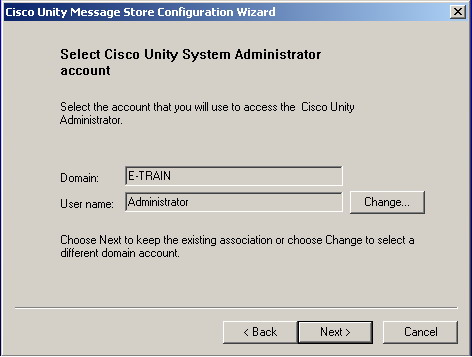
选择Unity系统管理帐户
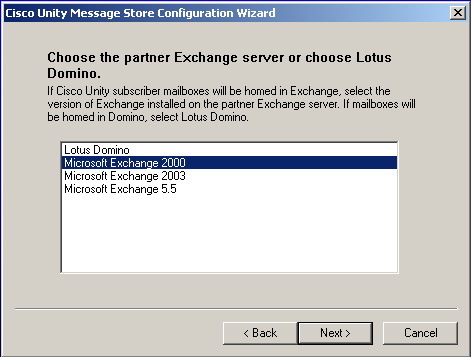
选择你的Exchange版本

选择mailbox地址

活动目录配置
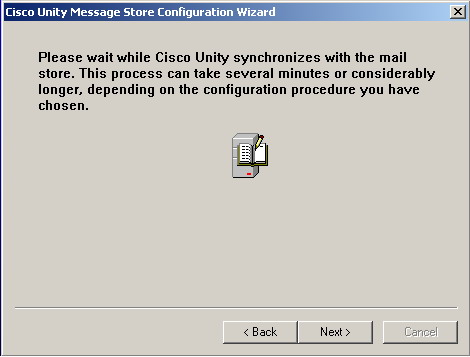

选择创建Subscribers。继续选择管理员帐户,跟刚才一样。然后安装完毕
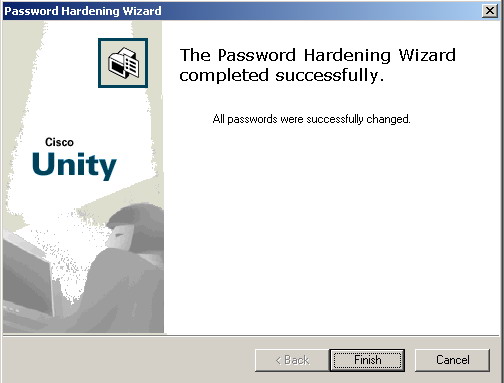
第十五步:设置默认密码
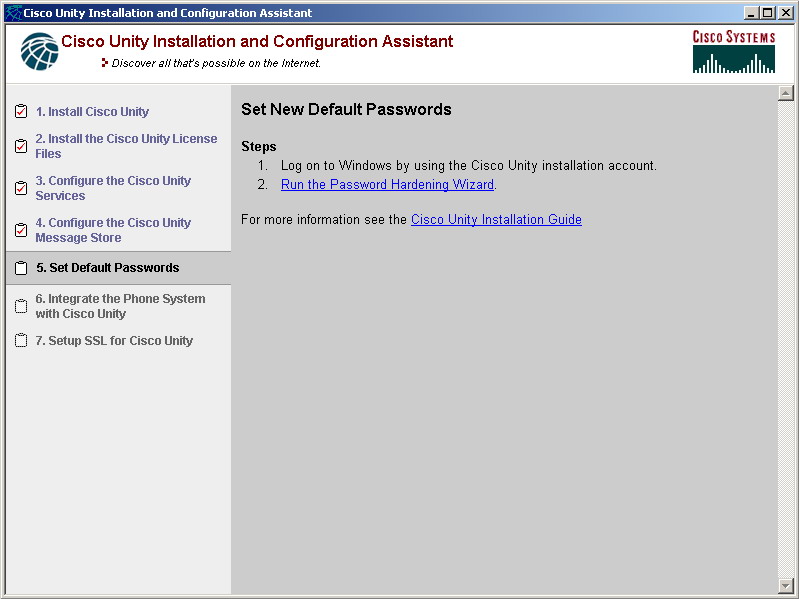
这是足可以逼死你的一步,耐心研究把。
点击Run the Password Hardening Wizard

下一步
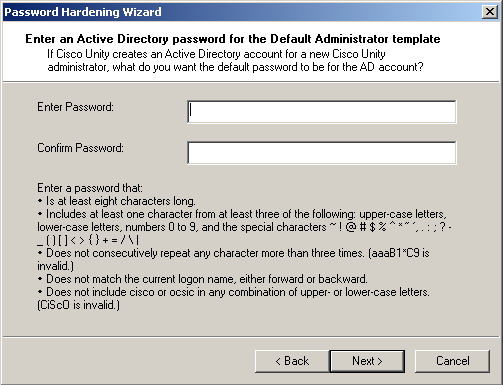
设置管理组活动目录密码。动脑筋的时候开始了,设置密码的规则要求超级多,大家可以放大这张图片仔细看。
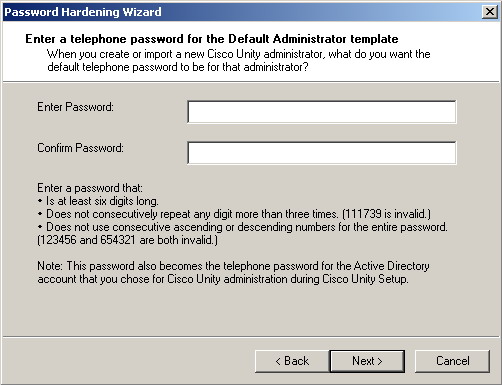
设置管理组的电话密码。这个规则也超级多,发达图片仔细看。
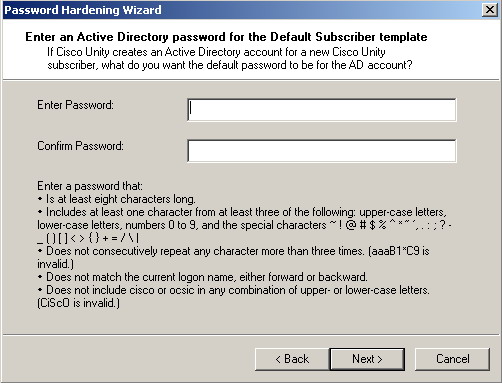
设置Subscriber的活动目录密码
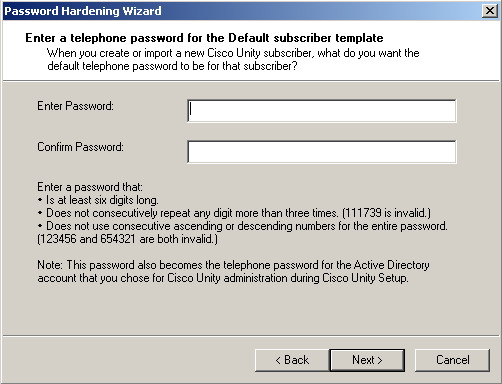
设置Subscriber电话的密码
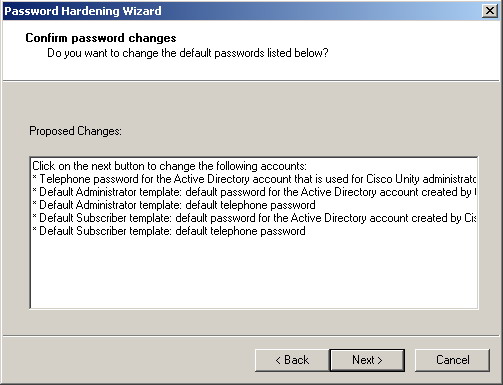
确认,完成安装
第十六步,让Unity挂上Callmanager

点击Run the Cisco Unity Telephony integration Manager

点击Create Integration

选择Callmanager。你要有别的厂家的设备,比如HP OpenCall什么的,可以选择用SIP连接

给这个集成起个名字

输入Callmanager地址和TCP端口号,默认端口号2000。如果没有在Callmanager上作改动的话,没有必要更改。
可以点击Ping Server测试连通性。


设置第二台CCM,跟刚才方法一样。没有的话直接下一步。

设置CCM的MWI,使用默认就可以
这个跟你的Unity License有直接关系
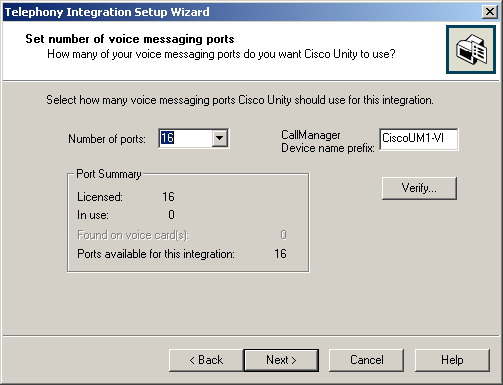
设置语音端口数,这个也跟你的Lincese有直接关系

设置语音Trunk访问代码

确认配置。确认后会要求重起服务。
第十七步:给Unity启用SSL
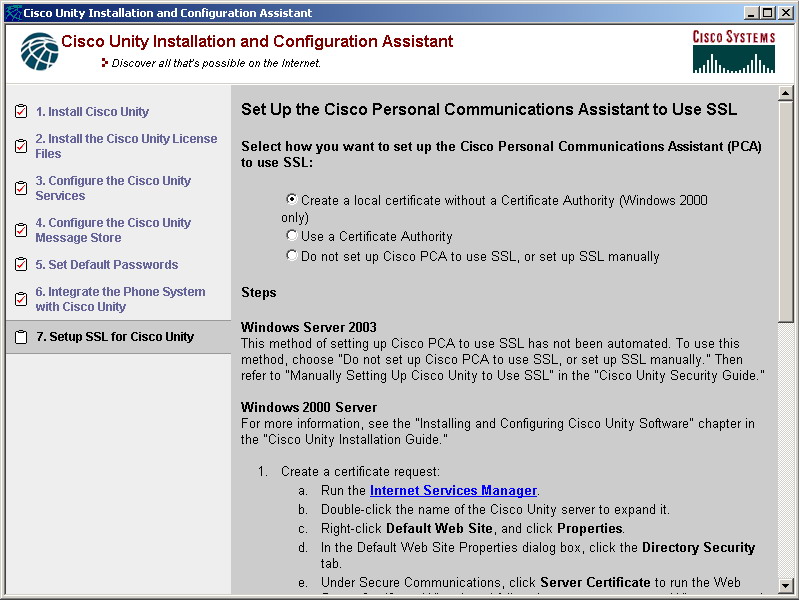
这步可以跳过。建议使用SSL保证安全性,可以选择本地认证或者CA。
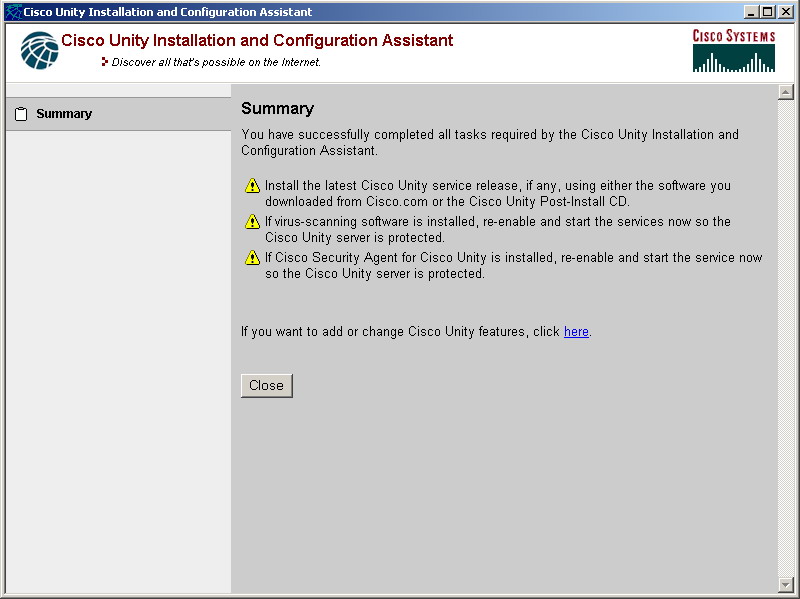
安装完毕后会给你一个Summary。大功告成了
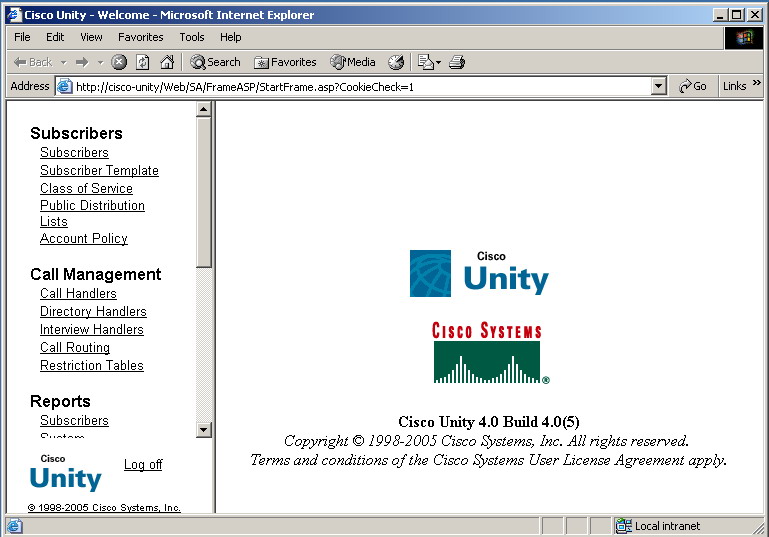
这个是4.0.5的界面,可以正常运行了
|
|
|
|

