看见有朋友安装AC时有些问题.所以提供一个安装步骤:
一. Attendant Console 的添加
1.增加新的Attendant Console user 在call Manager界面的击Service 再点击Cisco CM Attendant Console 再点击Attendant Console User
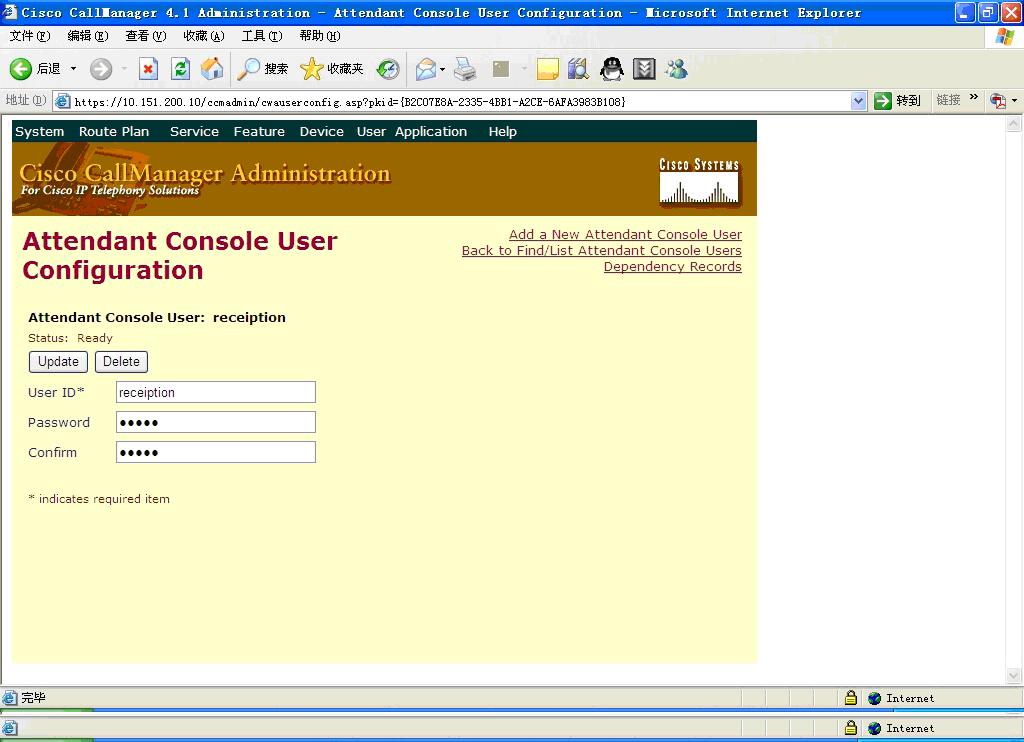
2.建立一个登录用户名称 用户名称任意,密码任意
3.点击User 建立一个新的用户.用户User ID 必须为AC密码必须为12345 同时必须选种Enable CTI Application Use 和 Enable CTI Super Provider 两个选项.
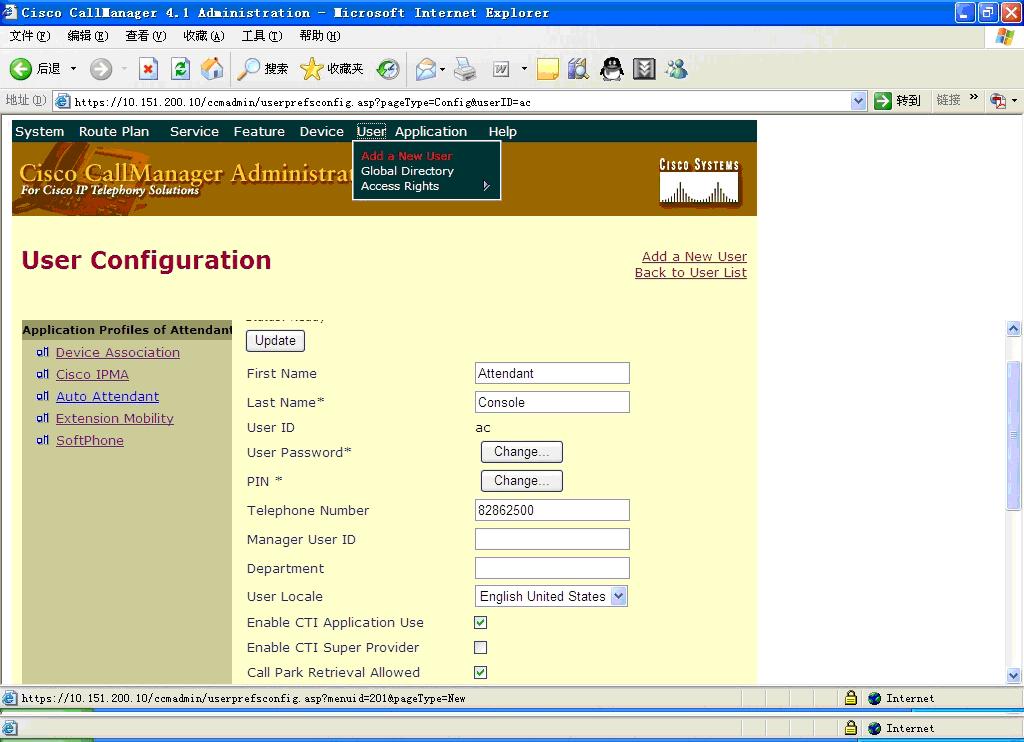
点击上图中Device Association 选项进入号码绑定,搜索绑定的号码然后将其绑定,每增加一个控制用户就需要多绑定一个话机.

4.建立用户端口
Pilot Points 每个用户都只能用一个端口登录
Pilot Name 任意用户名关联Hunt Group.
Device Pool选为默认.
Partition 为本组
Pilot Number 为任意组内没有用过的虚拟号码.
Route Calls to 选择关联Hunt Group

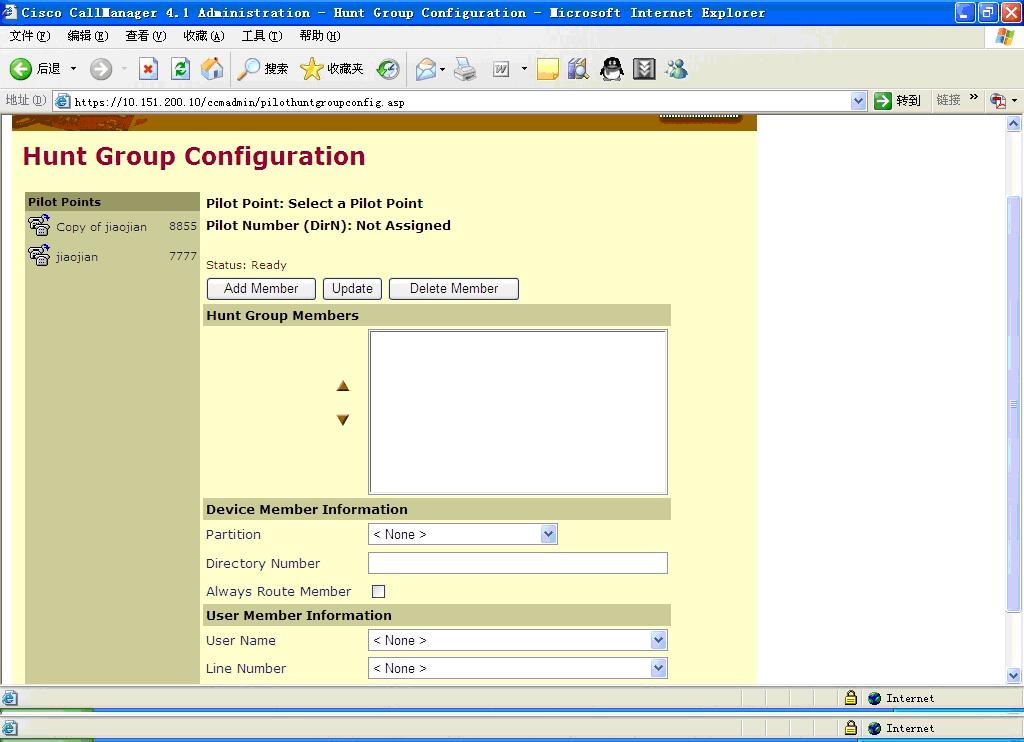
5. Hunt Group Configuration建立
当建立完Pilot Points 后在 Hunt Group 会出现相关联的端口 在端口配置相关联的话机号码 每一个用户需要关联一个话机端口. Partition 为组Directory Number为关联话机号码.
6. 点击进入Cisco CallManager Attendant Console Servers 点击左边服务器地址

7.进入服务器端口配置全部选用默认配置,除非端口冲突一般情况下不更改.

8.点击进入 Cisco Call Manager 4.1 Serviceability 选择 tool 再选择 Control Center 进入服务器

二.安装Attendant Console
1. 点击进入. Install Plugging 安装Attendant Console

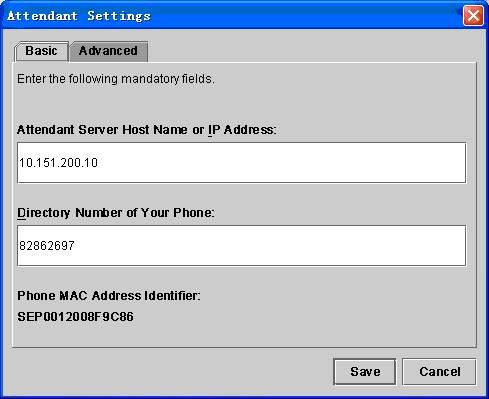
2. 打开桌面Attendant Console的图标,进行设置server填写CCM地址,DN填写绑定的话机号码.然后按照Attendant Console User 中的用户名登录

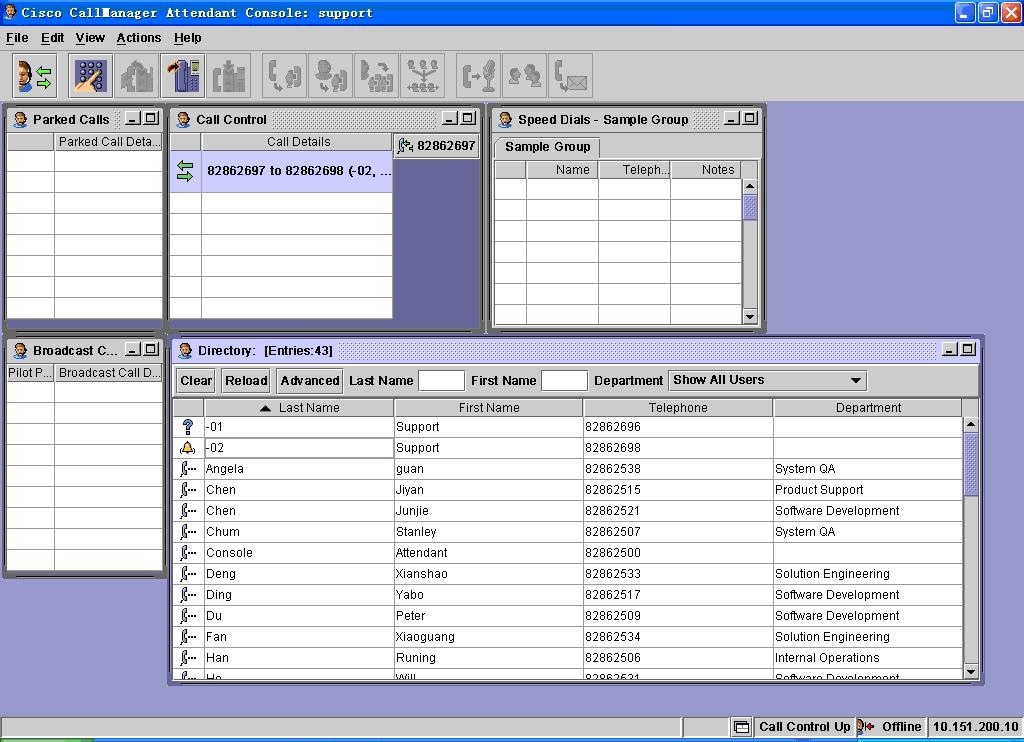
3. 打开界面后能够看到所有用户的状态
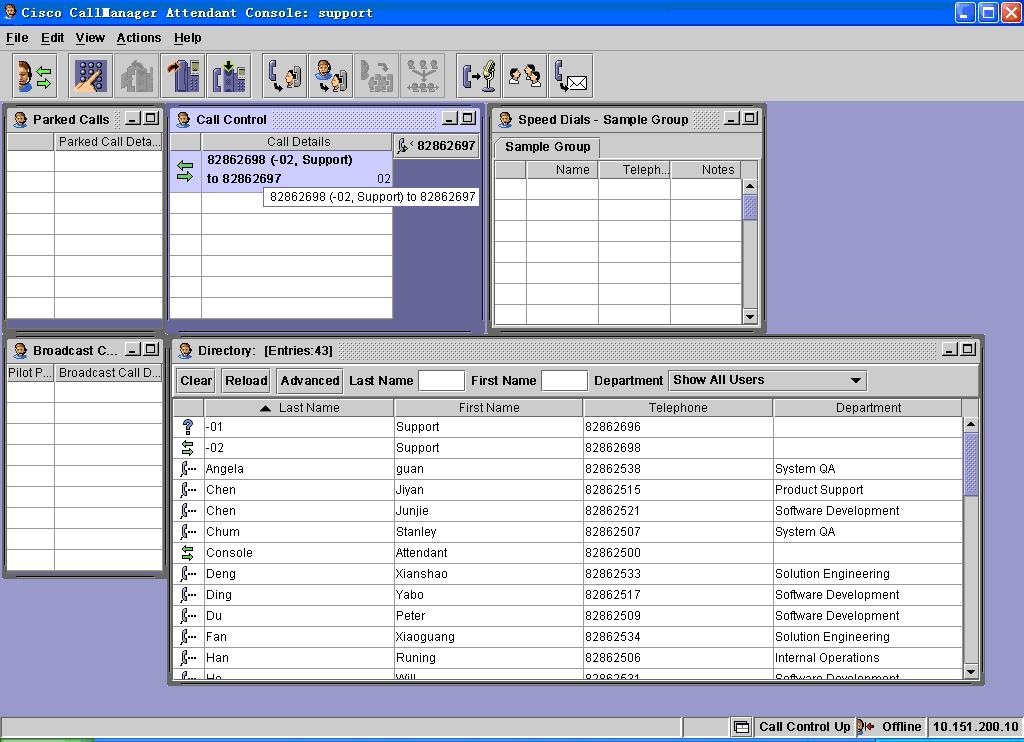
4.在界面中可以控制电话的转接,等待 等功能接听后就可以按上面选项使用功能.

 |

